XBeam2D UI: Difference between revisions
No edit summary |
No edit summary Tag: visualeditor |
||
| (One intermediate revision by the same user not shown) | |||
| Line 8: | Line 8: | ||
Within the ribbon toolbar under 'general' you can find all the commands to model the structure and to navigate through your model. Under 'Settings & Manual' you can find all the settings and preferences within the program and model. | Within the ribbon toolbar under 'general' you can find all the commands to model the structure and to navigate through your model. Under 'Settings & Manual' you can find all the settings and preferences within the program and model. | ||
[[File: | [[File:XBeam2DUI1.png|800px]] | ||
===Display options=== | ===Display options=== | ||
Within the display options palette under 'general' you can set the visibility of your | Within the display options palette under 'general' you can set the visibility of your model. | ||
[[File: | [[File:XBeam2DUI2.png|800px]] | ||
===Results options=== | ===Results options=== | ||
Under the tab 'Results' within the display options palette you can find all the options to show bending moments, shear forces and other results within the | Under the tab 'Results' within the display options palette you can find all the options to show bending moments, shear forces and other results within the model. | ||
[[File: | [[File:XBeam2DUI3.png|800px]] | ||
===Loads=== | ===Loads=== | ||
Within the graphical window there are several tabs. Under the tab 'load 1: Dead Load' you can find the loads on the structure. For every load case a new tab will be created. | Within the graphical window there are several tabs. Under the tab 'load 1: Dead Load' you can find the loads on the structure. For every load case a new tab will be created. Under the tab 'Results' you can visualize the results of the calculation. | ||
[[File: | [[File:XBeam2DUI4.png|800px]] | ||
===Properties=== | ===Properties=== | ||
| Line 36: | Line 30: | ||
The properties window can be activated by selecting a node, bar or plate and right click on properties. Within the properties window you can see all the properties of the selected element(s). | The properties window can be activated by selecting a node, bar or plate and right click on properties. Within the properties window you can see all the properties of the selected element(s). | ||
[[File: | [[File:XBeam2DUI5.png|800px]] | ||
===Concrete=== | |||
Under the tab 'Concrete' you can view and design the reinforcement in concrete beams/floors. | |||
[[File: | [[File:XBeam2DUI6.png|800px]] | ||
Latest revision as of 07:28, 31 August 2022
User Interface
The chapter contains the basics of the user interface within XBeam2D.
Ribbon Toolbar
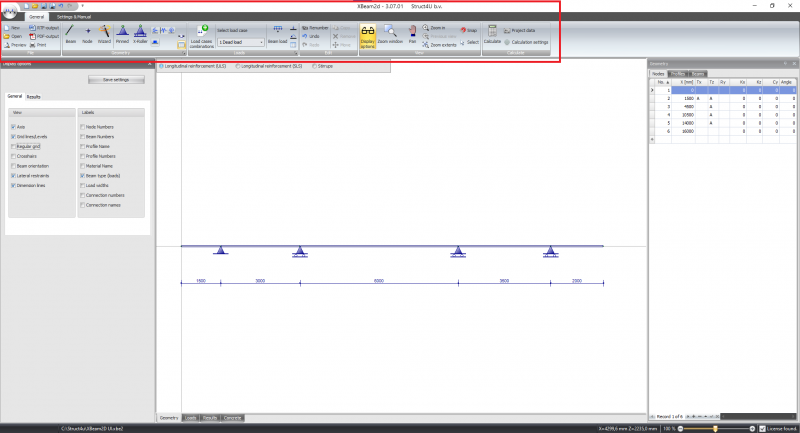
Within the ribbon toolbar under 'general' you can find all the commands to model the structure and to navigate through your model. Under 'Settings & Manual' you can find all the settings and preferences within the program and model.
Display options
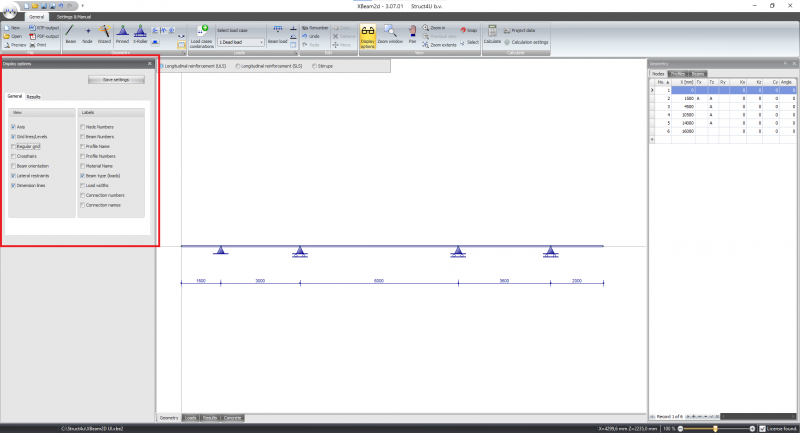
Within the display options palette under 'general' you can set the visibility of your model.
Results options
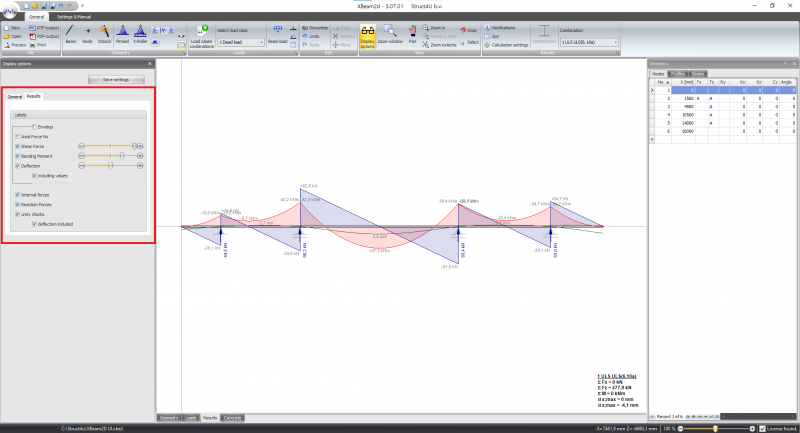
Under the tab 'Results' within the display options palette you can find all the options to show bending moments, shear forces and other results within the model.
Loads
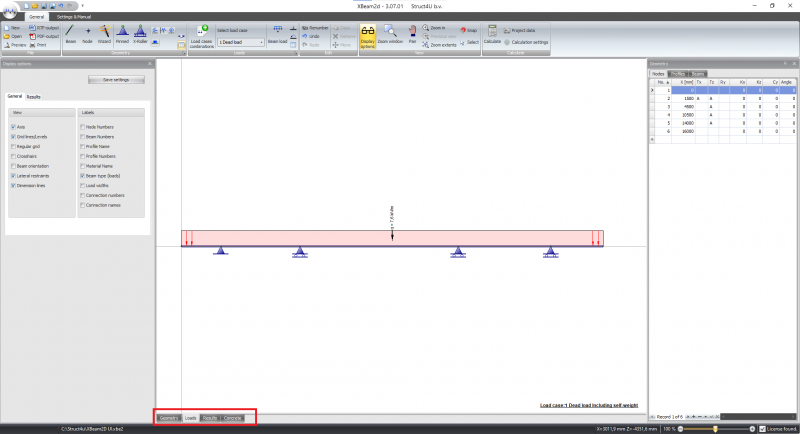
Within the graphical window there are several tabs. Under the tab 'load 1: Dead Load' you can find the loads on the structure. For every load case a new tab will be created. Under the tab 'Results' you can visualize the results of the calculation.
Properties
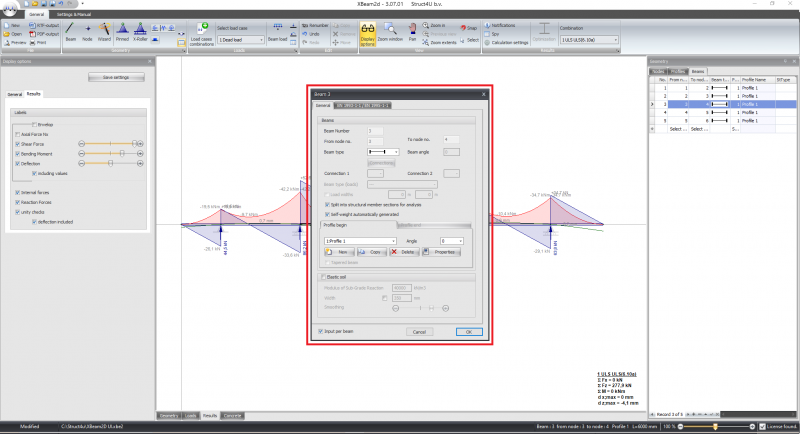
The properties window can be activated by selecting a node, bar or plate and right click on properties. Within the properties window you can see all the properties of the selected element(s).
Concrete
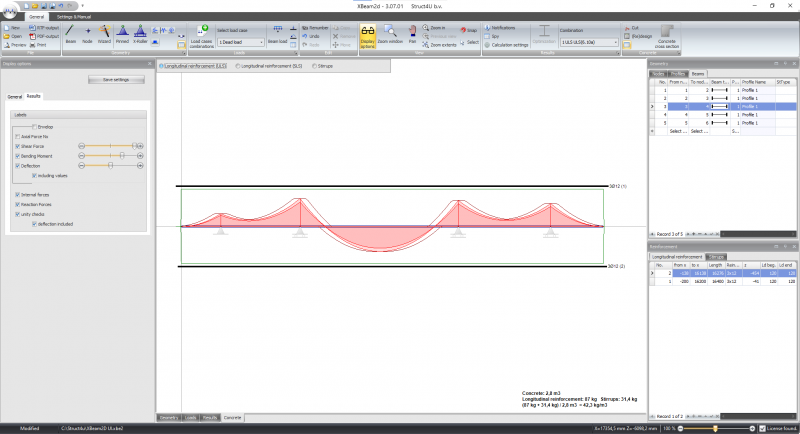
Under the tab 'Concrete' you can view and design the reinforcement in concrete beams/floors.
